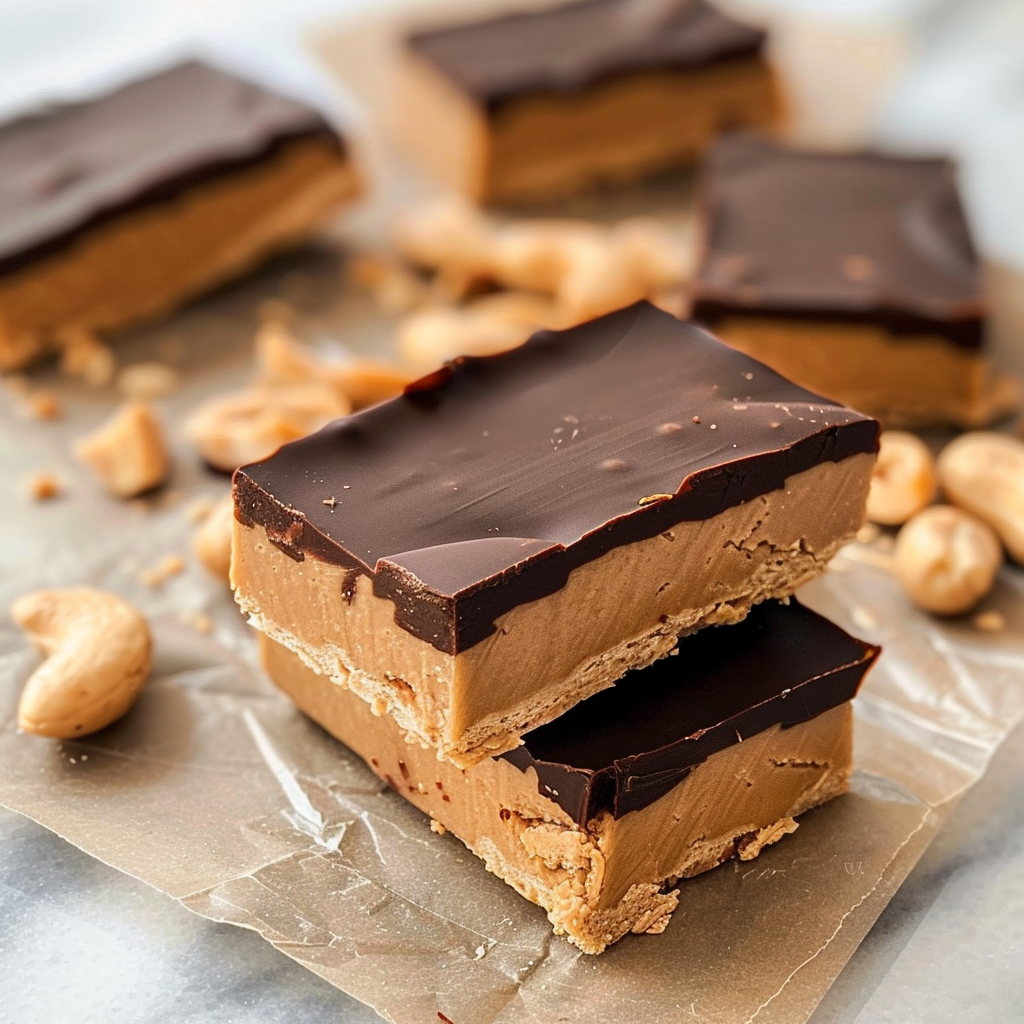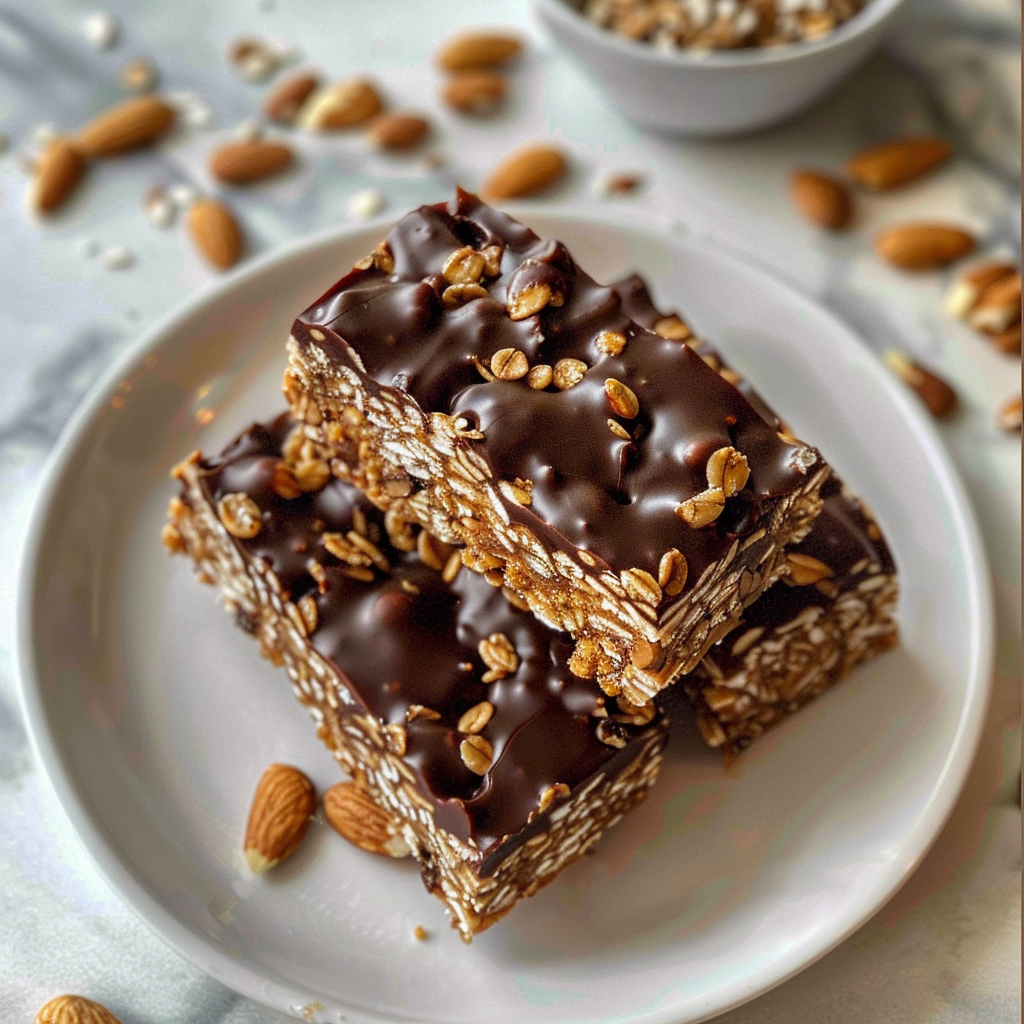
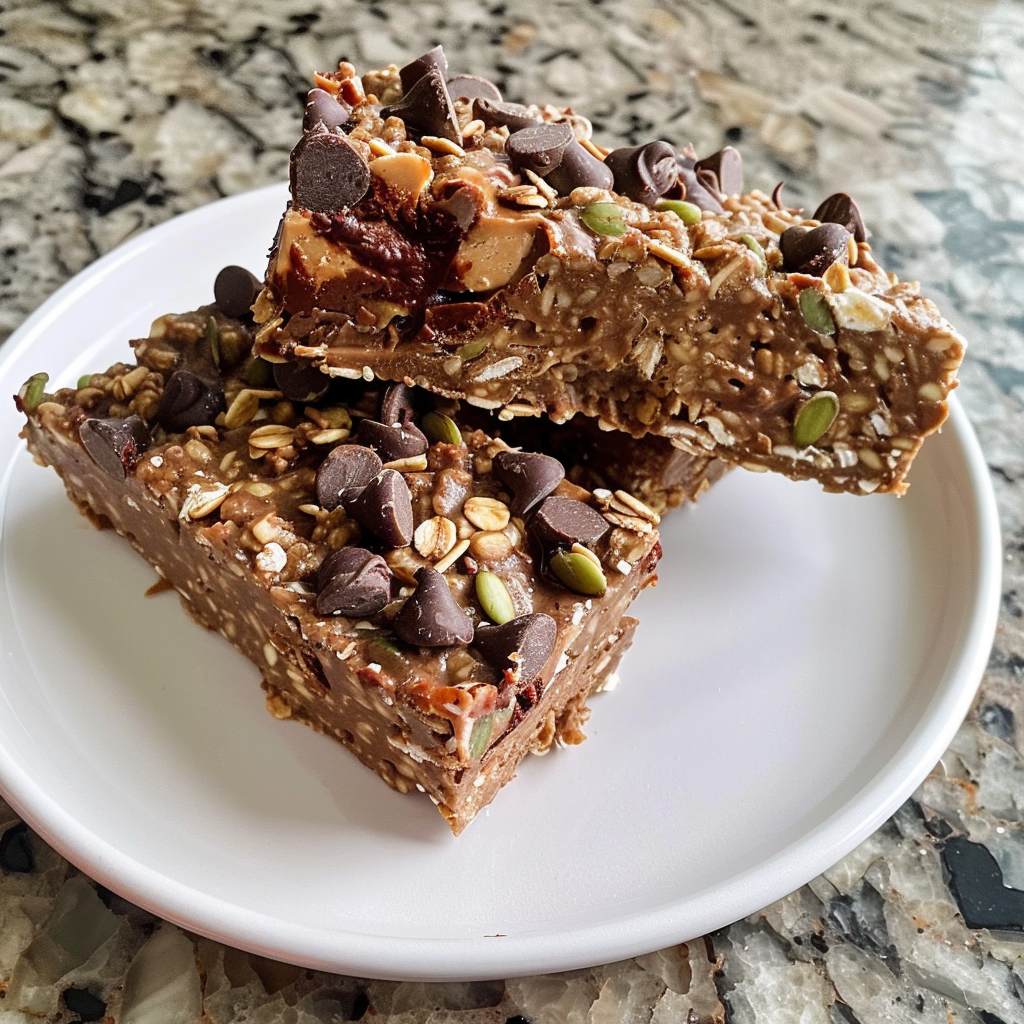
Indulging in Gluten Free Vegan Protein Energy Bars is a winning choice for health enthusiasts seeking wholesome nutrition. Each bar delivers a powerful punch of protein and energy, perfect for an on-the-go snack or a post-workout recovery treat. Enjoy the delicious blend of chocolate and peanut butter while benefiting from the rich, plant-based nutrients.
WHY THIS RECIPE MATTERS
This recipe not only satisfies your sweet tooth, but it also fuels your body with essential nutrients. Packed with plant-based protein and healthy fats, these energy bars keep your energy levels high while keeping cravings at bay.
The combination of gluten-free oats, protein powder, and nut butter provides a well-rounded nutritional base that supports muscle recovery and overall health.
Ingredient List
- 1 ½ cups gluten-free oats (blended into oat flour)
- 2 scoops chocolate protein powder
- ½ cup cocoa powder
- ¾ cup peanut butter (melted)
- ¼ cup maple syrup (or honey/agave)
- ½ cup almond milk
- ½ cup melted dark chocolate
- 1 tsp coconut oil
- ⅔ cup dark chocolate chips (for topping)
- Optional: vanilla extract, seeds, almond flour, sea salt
Essential Tools and Equipment
- Blender or food processor
- Mixing bowls
- Baking dish (square)
- Parchment paper
- Spatula
- Microwave or double boiler for melting chocolate
STEP-BY-STEP INSTRUCTIONS of Gluten Free Vegan Protein Energy Bars
Step 1: Blend Oats
Blend 1 ½ cups of gluten-free oats into a fine flour consistency using a blender or food processor. This oat flour serves as a hearty base for your energy bars, offering both texture and nutrition.
Step 2: Mix Dry Ingredients
Combine the blended oat flour with 2 scoops of chocolate protein powder and ½ cup cocoa powder in a mixing bowl. Stir well until all dry ingredients are blended evenly.
Step 3: Combine Wet Ingredients
In another bowl, mix together the melted peanut butter, maple syrup, almond milk, and ½ cup of melted dark chocolate. Ensure everything is mixed well to create a smooth consistency.
Step 4: Combine Wet and Dry Mixtures
Pour the wet mixture into the bowl containing the dry ingredients. Mix thoroughly until the two mixtures are fully combined, creating a thick dough-like consistency.
Step 5: Prepare the Baking Dish
Line a square baking dish with parchment paper. This prevents the mixture from sticking to the dish and makes it easier to remove the bars once they are set.
Step 6: Press the Mixture into the Pan
Firmly press the energy bar mixture into the lined baking dish, ensuring it is spread evenly. Use a spatula or your hands to compact the mixture for better firmness.
Step 7: Freeze the Mixture
Place the baking dish in the freezer for at least 30 minutes while preparing the chocolate topping. This allows the bars to firm up before slicing.
Step 8: Prepare the Topping
Melt the dark chocolate chips with 1 tsp of coconut oil until smooth using the microwave or a double boiler. Stir it well to ensure a glossy finish.
Step 9: Pour Topping Over Bars
Once melted, pour the chocolate over the firmed bars in the baking dish. Spread it evenly over the top layer for a delicious finish.
Step 10: Chill and Set
Refrigerate the energy bars for at least 2 hours, allowing them to set completely before slicing. This step is crucial for achieving the right texture.
Step 11: Cut into Bars and Store
After the bars have firmed up, remove them from the baking dish using the parchment paper. Cut into desired bar sizes and store them in the refrigerator for optimal freshness.
Nutritional Benefits
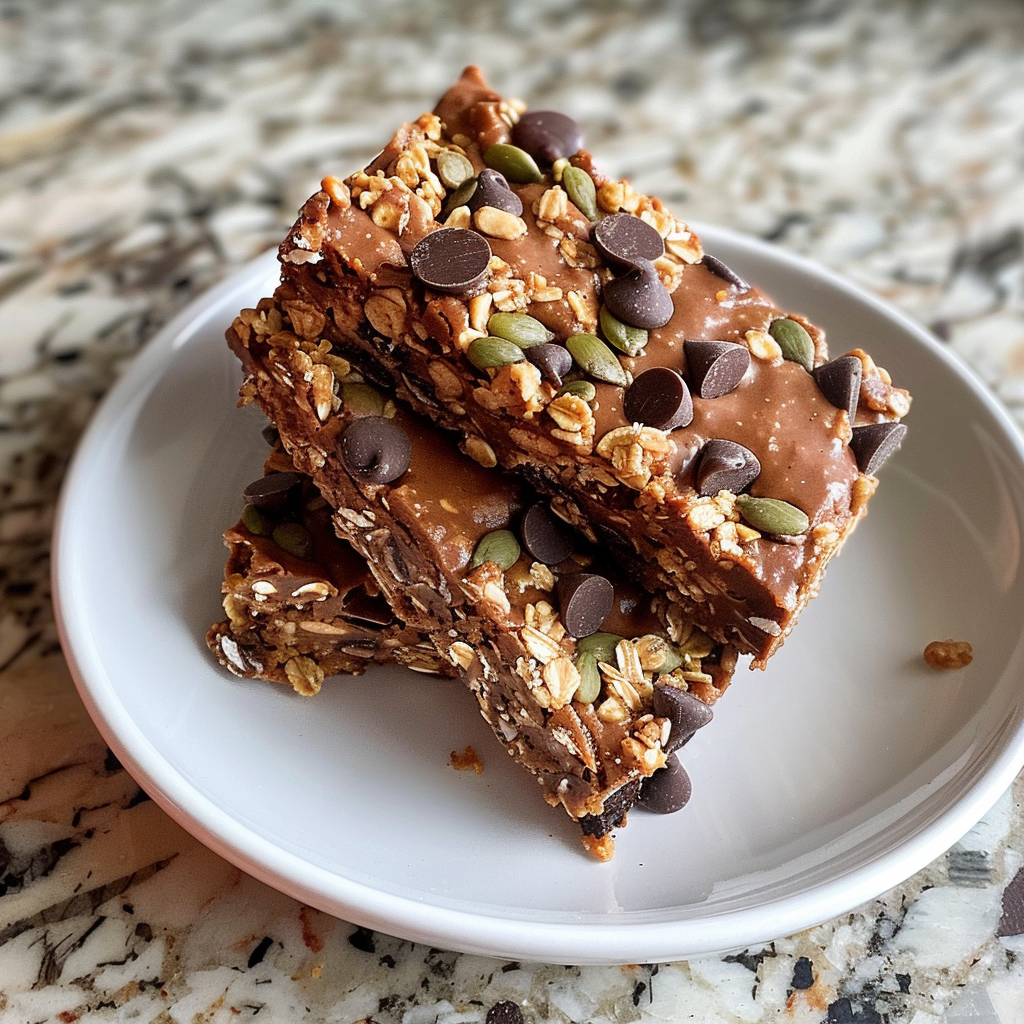
These Gluten Free Vegan Protein Energy Bars are a powerhouse of protein with the protein powder and peanut butter ensuring that you get ample nourishment. Each ingredient has been carefully chosen to contribute both flavor and health benefits.
The oats add soluble fiber, aiding digestion and maintaining long-lasting energy levels. Additionally, the healthy fats from peanut butter and dark chocolate contribute to satiety, making these bars an excellent snack choice.
Chef Tips for Perfect Results
- Ensure oats are finely blended to create a smoother texture.
- Use high-quality dark chocolate for a richer taste.
- For added crunch, sprinkle seeds on top before chilling.
- Use a spatula to press the mixture firmly to avoid crumbly bars.
- Experiment with different nut butters for unique flavor variations.
Common Mistakes to Avoid
- Not blending oats finely enough: Aim for a fine flour to ensure even texture.
- Overmixing the wet and dry ingredients: This can lead to tough bars; mix just until combined.
- Skipping the refrigeration step: Chilling is crucial for firm bars—don’t rush it!
- Using overly warm melted chocolate: This can lead to a runny topping; let it cool slightly first.
Flavor Variations & Suggestions
Add a ½ teaspoon of vanilla extract for extra flavor complexity. Another delicious option is to incorporate ¼ cup of almond flour for additional nutrients and a unique texture.
If you’re in the mood for a nutty twist, consider adding chopped nuts like walnuts or almonds into the mixture. For a fruity touch, mix in dried fruits such as cranberries or apricots to the batter.
Serving Suggestions
Pair your energy bars with a side of fresh fruit for an added boost of vitamins. A smoothie made with banana and almond milk complements the bars beautifully for breakfast or a snack.
These bars also pair well with herbal teas or coffee for a refreshing afternoon treat. For dessert, try enjoying them alongside homemade coconut yogurt to create a well-rounded post-meal experience.
Storage & Reheating
Store the energy bars in an airtight container in the refrigerator to maintain freshness for up to one week. For longer storage, consider freezing them wrapped in parchment paper for up to 3 months.
Allergy Information
This recipe is naturally gluten-free and dairy-free. For nut allergies, you can substitute peanut butter with sunflower seed butter or tahini.
If you prefer to avoid chocolate, consider using carob powder as a healthy alternative. Lastly, always check ingredient labels for allergens, especially with protein powders and sweeteners.
Frequently Asked Questions
Can I substitute regular oats for gluten-free oats?
Regular oats may contain gluten, so it’s best to use certified gluten-free oats to avoid cross-contamination.
How do I know when the bars are done?
The bars are ready when firmly set after refrigeration, indicating that they are ready to be cut and enjoyed.
Can I make these bars ahead of time?
Yes, you can prepare and store these bars in the fridge for up to a week, making them a convenient snack option.
How can I troubleshoot overly crumbly bars?
To prevent crumbling, ensure that the mixture is pressed firmly into the baking dish and that sufficient wet ingredients are included.
What can I serve with these energy bars?
These bars are perfect with smoothies or as a pairing with fresh fruit or yogurt as a nutritious snack option.
In conclusion, these Gluten Free Vegan Protein Energy Bars are the perfect blend of taste and nutrition, ideal for any time of day. Bursting with flavors and nutrients, they make for an excellent energy boost, especially after workouts. Enjoy the decadent chocolatey goodness that fuels your energy and keeps you satisfied!
Print
Gluten Free Vegan Protein Energy Bars
- Total Time: 15 minutes
- Yield: 20 bars
- Diet: Vegan
Description
Indulge in these gluten-free, vegan protein energy bars packed with plant-based protein and healthy fats. Made with gluten-free oats, peanut butter, and dark chocolate, they’re perfect for a quick, nutritious snack or post-workout boost.
Ingredients
1 ½ cups gluten-free oats (blended into oat flour)
2 scoops chocolate protein powder
½ cup cocoa powder
¾ cup peanut butter (melted)
¼ cup maple syrup (or honey/agave)
½ cup almond milk
½ cup melted dark chocolate
1 tsp coconut oil
⅔ cup dark chocolate chips (for topping)
Optional: vanilla extract, seeds, almond flour, sea salt
Instructions
Blend 1 ½ cups of gluten-free oats into a fine flour using a blender or food processor.
Combine the oat flour, 2 scoops of chocolate protein powder, and ½ cup cocoa powder in a mixing bowl.
In another bowl, mix melted peanut butter, maple syrup, almond milk, and melted dark chocolate until smooth.
Pour the wet mixture into the dry ingredients and mix until a thick dough forms.
Line a square baking dish with parchment paper.
Firmly press the dough into the prepared dish, using a spatula or hand to level the surface.
Top with dark chocolate chips and spread remaining chocolate over the surface.
Chill the bars in the refrigerator for 2 hours or until firm.
Cut into 20 bars.
Notes
Use parchment paper to prevent sticking.
Add chia seeds, flaxseeds, or crushed almonds for extra nutrition.
Storage: Store in an airtight container in the refrigerator for up to 7 days.
- Prep Time: 15 minutes
- Cook Time: 0 minutes
- Category: High Protein Snacks
- Method: No-Bake
- Cuisine: International