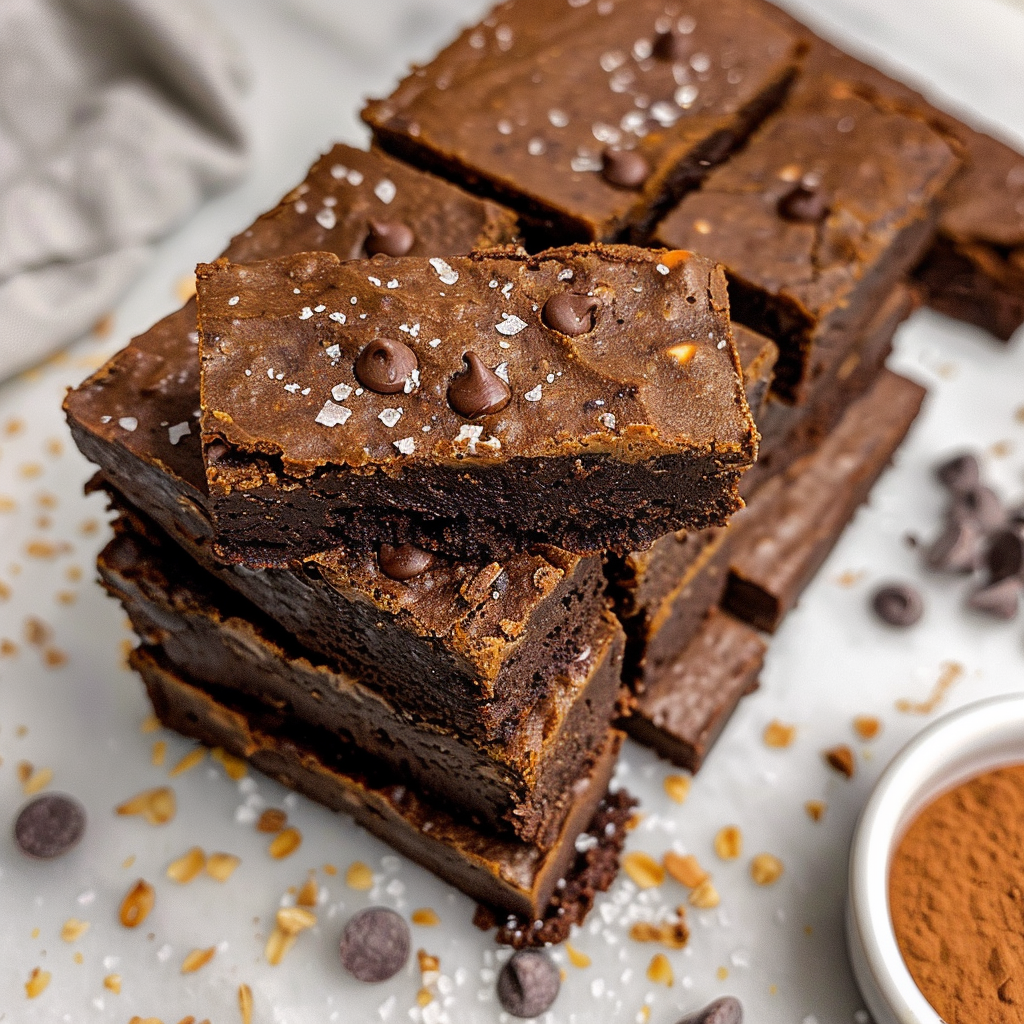
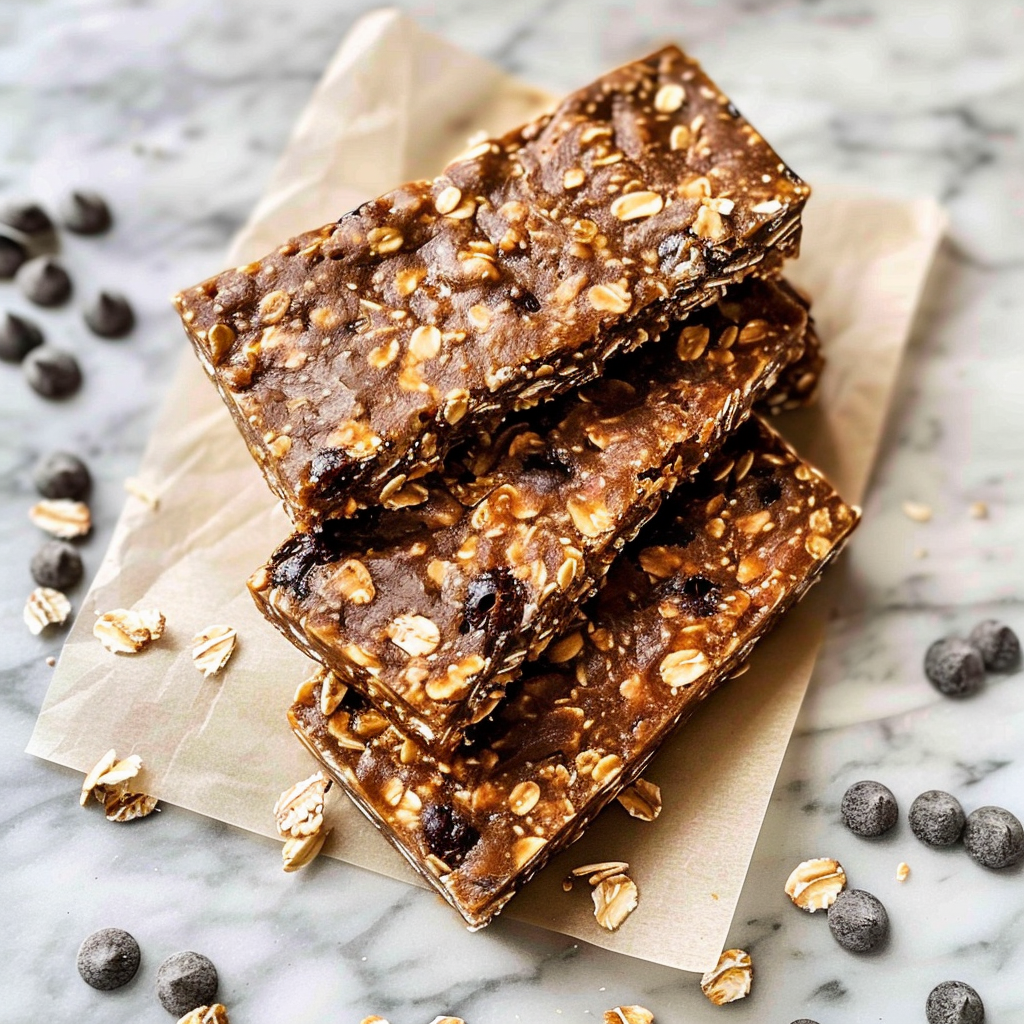
No bake protein bars provide a quick and nutritious option to fuel your day with powerful energy. Packed with protein, these bars deliver about 32g of protein in less than 25 minutes of preparation time!
Why This Recipe Matters
No bake protein bars are a fantastic alternative to conventional snacks loaded with sugar. They contain wholesome ingredients, making them perfect for energy boosts before or after workouts.
Crafted from nutrient-rich components, they support your body’s protein needs effectively. This recipe is versatile and can be modified based on dietary preferences or restrictions.
Ingredient List
1 1/2 cups old-fashioned rolled oats
3/4 cup peanut butter (or any nut/seed butter)
1 banana, mashed
1/3 cup honey (or maple syrup/agave)
1/2 cup ground flaxseed
1 cup protein powder (any type/flavor)
2 tsp vanilla extract
Pinch of salt
3/4 cup mix-ins (optional: chopped dates, dried fruit, chocolate chips, coconut, nuts)
Essential Tools and Equipment
Large mixing bowl
Spatula or wooden spoon
Measuring cups and spoons
8×8-inch baking pan
Parchment paper
Refrigerator
Step-by-Step Instructions of No Bake Protein Bars
Step 1: Mix All Ingredients
In a large bowl, mix all ingredients—old-fashioned rolled oats, peanut butter, mashed banana, honey, ground flaxseed, protein powder, vanilla extract, and a pinch of salt—until well combined. This step is crucial for ensuring the bars hold together.
Step 2: Fold in Mix-Ins
Carefully fold in your chosen mix-ins, such as chopped dates, dried fruit, chocolate chips, or nuts. These additions will enhance the flavor and texture of your protein bars.
Step 3: Adjust Texture as Needed
If the mixture feels too dry, add a splash of milk or water, or a little more honey to achieve the desired consistency. The right texture will help the bars bind together.
Step 4: Press into Pan
Press the mixture firmly into a parchment-lined 8×8-inch pan. Use the back of a spatula or your hands to ensure the mix is compacted and even.
Step 5: Chill Until Firm
Refrigerate the mixture for at least 1 hour until firm. Chilling solidifies the bars, making them easier to cut and enhancing their texture.
Step 6: Cut into Bars
Once chilled, remove the mixture from the pan and cut it into bars. Store the bars in the refrigerator to keep them fresh!
Nutritional Benefits
Each ingredient in these no bake protein bars contributes to a balanced snack. Oats offer complex carbohydrates that provide sustained energy, while peanut butter adds healthy fats and protein.
Bananas are a great source of essential vitamins and minerals, and honey provides natural sweetness without refined sugar. Flaxseed is rich in omega-3 fatty acids, enhancing heart health.
Chef Tips for Perfect Results
Use natural nut butters without added sugars for a healthier option.
Let the mixture chill longer for harder bars if desired.
Adjust the sweetness by varying the amount of honey or choosing different flavored protein powders.
Experiment with add-ins for unique flavors like coconut or chia seeds.
Be sure to line the baking pan with parchment paper for easy removal.
Common Mistakes to Avoid
Not pressing the mixture firmly into the pan; this can lead to crumbly bars. Ensure you compact the mix tightly.
Using too much liquid; this could make the bars soggy. Adjust your liquid ingredients to achieve the right texture.
Skipping the chilling step; proper refrigeration is necessary for the bars to hold their shape. Always let them chill for at least an hour.
Not measuring ingredients accurately; inaccuracies can affect the final texture and flavor. Always use precise measuring tools.
Flavor Variations & Suggestions
Try a chocolate chip version by incorporating dark chocolate chips and a chocolate-flavored protein powder. This indulgent option is perfect for sweet cravings while still being healthy.
Another variation includes coconut and dried fruit, which adds a tropical touch and additional chewiness to the bars. This option boosts dietary fiber as well!
Serving Suggestions
Pair your no bake protein bars with a side of Greek yogurt for a protein-packed breakfast. The combination will help keep you full longer.
These bars also serve well with a glass of almond milk or in a lunchbox for a healthy afternoon pick-me-up. They are the perfect snack after a workout!
Storage & Reheating
Store your no bake protein bars in an airtight container in the refrigerator. They can last up to a week without losing freshness, making them a great make-ahead snack.
These bars can be enjoyed cold, straight from the fridge, or brought to room temperature for a softer texture.
Allergy Information
For nut allergies, substitute peanut butter with sunflower seed butter to maintain a similar consistency and taste. This keeps the bars nut-free.
For gluten-free options, ensure you use certified gluten-free oats to avoid cross-contamination. Most protein powders are also gluten-free, so check labels.
To make it dairy-free, opt for a non-dairy protein powder and avoid any dairy-based mix-ins.
Frequently Asked Questions
Can I substitute the protein powder?
Yes, you can substitute with any protein powder, including plant-based options. This versatility allows for customization based on dietary preferences.
What should I do if my bars aren’t holding together?
If your bars are crumbly, adding a bit more nut butter or honey will help to bind them together more effectively. Adjust as needed until you achieve the desired consistency.
Can I make these ahead of time?
Absolutely, these bars can be made in advance and stored for up to a week. They are perfect for meal prepping and quick snacks.
Will these bars also cook in the oven?
No, this no bake recipe is intended to be chilled only. Baking will alter the texture and consistency.
How can I incorporate different flavors?
You can experiment with different flavored protein powders and mix-ins based on seasonal preferences. Seasonal fruits or spices can add unique twists to the bars.
No bake protein bars are easy to make, nutritious, and versatile. Packing a punch of protein and healthy ingredients, they keep you fueled throughout the day. Try customizing them with your favorite flavors for a signature taste!
Print
No Bake Protein Bars That Fuel Your Day
- Total Time: 20
- Yield: 8 protein bars
- Diet: Vegetarian/Halal
Description
Quick, no-bake high-protein bars made with wholesome ingredients. Perfect for pre/post-workout fuel or a sweet-free snack with a 32g protein total. Ready in under 25 minutes with customizable mix-ins!
Ingredients
1 1/2 cups old-fashioned rolled oats
3/4 cup peanut butter (or nut/seed butter)
1 banana, mashed
1/3 cup honey (or maple syrup/agave)
1/2 cup ground flaxseed
1 cup protein powder (vegetarian/halal-friendly)
2 tsp vanilla extract
Pinch of salt
3/4 cup mix-ins (chopped dates, dried fruit, chocolate chips, coconut, or nuts)
Instructions
Mix oats, peanut butter, mashed banana, honey, flaxseed, protein powder, vanilla extract, and salt in a bowl until fully combined
Fold in mix-ins of choice for added texture
If mixture is too dry, add 1-2 tbsp milk/water or extra honey
Press the mixture firmly into a parchment-lined 8×8-inch pan
Chill in refrigerator for 1 hour or until firm
Cut into bars and store in refrigerator
Notes
Use a vegan protein powder for plant-based option
Adjust mix-ins by texture preference (chopped nuts = crunchy, dates = chewy)
Wrap individual bars in parchment for portable storage
Protein total in recipe is ~32g (adjust serving size for per-bar protein)
Store leftovers in airtight container for up to 5 days
- Prep Time: 20
- Category: High Protein Snacks
- Method: No Bake
- Cuisine: American